Tuesday, December 1, 2009

Moving Time!

It's been a while since I posted. Sorry! Things have been really busy around here between painting our new house, packing our current house (we're moving on Saturday!), broken arms (my 3 year old tried to ride a rocking horse down the stairs at our new house one night) and everyone getting sick around here. Throw Thanksgiving in there and I'm surprised I can even touch the computer, let alone blog!

I'm getting really excite though because soon I'll be able to start doing all those fun projects I've been eying/drooling over for the past few months in blogland and try some of my own projects I've come up with. Yea!

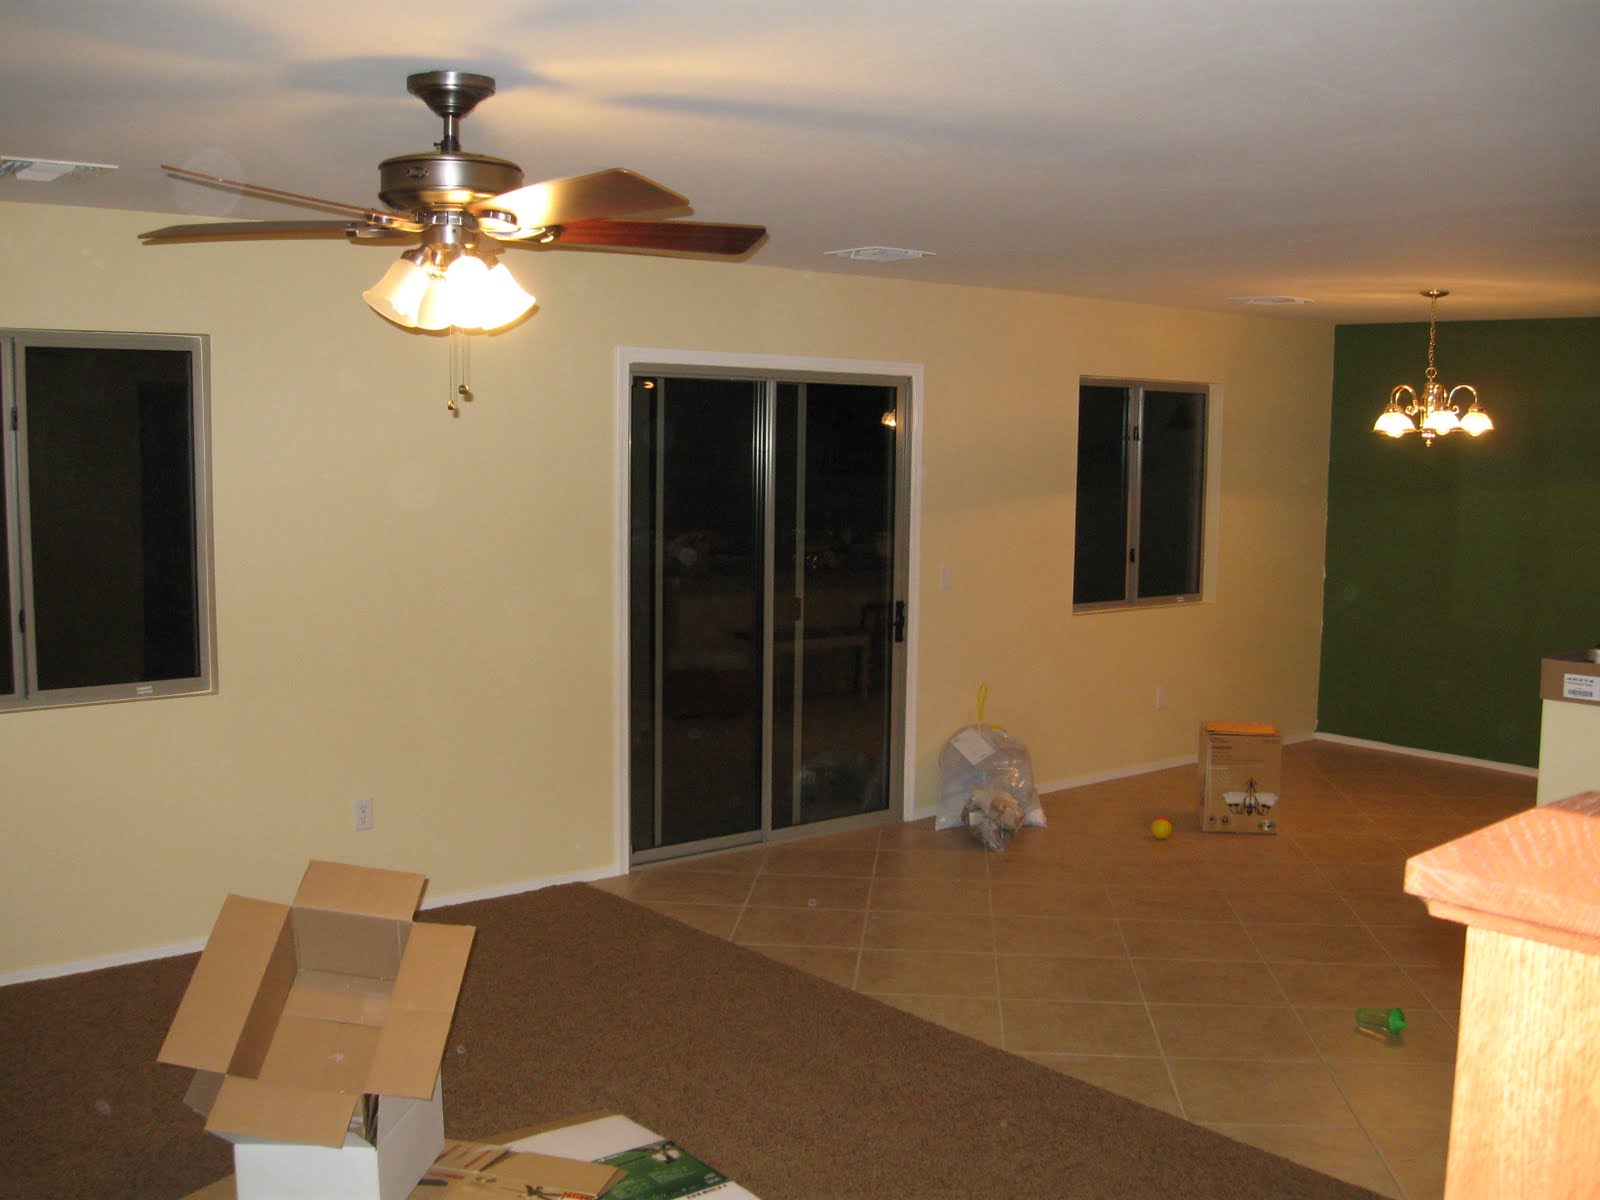
Believe it or not, I'm still crafting in the middle of all this. Despite being sick, I ran out on Black Friday and picked up a ton of ornaments to make an ornament wreath like the ones you see all over blogland right now. I put it together as soon as I got it home and we loaded up the van with all our Christmas stuff and heading down to our house to paint. The boys and I put up the Christmas tree while my husband started painting their bedroom.
Our tree tilts a little to the side now, we've had it for 5 years now, 4 of which with boys that just couldn't leave it alone...

And here's all my ornaments I bought at Michaels during their Black Friday sale. It was the first place I went after I ordered a our new deep freezer (25% off!) at Sears.com. I've put the wreath together, but forgot to take stuff to hang it on the door! I'll show you a completed, hanging on the door picture soon!


I promise I'll be back to blogging about fun things (other than painting walls) soon! I just have to get through this move first!

Monday, November 23, 2009

Christmas Plate

Our local grocery store, Fry's sells dishes and they recently put out their Christmas stuff. I bought 3 plates, one each in green, red and white. I've only had time to do the green plate so far. I used beige vinyl since I don't have white and I really like how it turned out. I'm planning on doing "Happy Holidays" and maybe "Tis the Season" on my other plates and giving them as gifts this year.

Thursday, November 19, 2009

Progress Report

We've been making progress on the painting. The pros got in on Monday and Tuesday and did a great job! I was so excited when I saw our walls and really pleased that I didn't have to do all that work!

Here's some pictures of what we've gotten done so far:

My red laundry room (Cherry Tart? Behr paint). It's a bit darker in real life, not so much the Christmas bright red color above. I've seriously debated whether or not to finish the red or prime it and start with a new color. After seeing the loft color with the red (when the door's open) I decided to stick with it. This is 3 coats and I'm thinking I need one more. The edges might need another coat after that. We'll see.

Question: Why is it that my laundry room looks like I need an extra coat of paint on the edges like that? What am I doing wrong? Any ideas/suggestions/tips would be appreciated. I'm a novice painter!

Here's the fan my husband installed in our 10 ft high ceiling last week! It looks really nice. You can also see the color we chose for the main parts of our house, up and down. It's called Jersey Cream from Sherwin Williams.
I asked my husband to put on one light fixture last night before heading home. He did the front entry. Wait... Let me find a before picture. Here it is:
I think the new one looks much better!

And here's our downstairs. You can see a bit of the green we're doing in the kitchen. Still needs another coat, so it doesn't look the best yet, but we still love it! I think that chandelier in the kitchen will be coming down tomorrow, so I'll show you the new one soon. Actually, it's sitting in the middle of the dining area in the picture below!
I also finished up the nursery/Son #3 bedroom. We chose Lemon Sherbet from Dunn Edwards. It goes well with the green paisley fabric that I picked up this summer for the curtains in his room. Sorry, no picture. I forgot to get one.

We took a break today, but a nice long weekend (with a New Moon break for me!) is ahead of us, so we're hoping to get lots done. Hopefully, we'll finish painting the kitchen and laundry room and get another bedroom or two started.

Saturday, November 14, 2009

Choosing colors

We've started painting! It's kind of exciting to see the different colors on the walls. My boys kept asking me, "You're painting the house?!?" when I started. They've only seen white walls at our place and they've never seen anyone paint a room before.

We've been trying to decide what color to paint our living room/loft area. The painters will be starting that on Monday. So, I picked 5 colors, got samples at Home Depot and painted by number on the wall. I couldn't tell what color was which in the jar, so I numbered them and then painted the number on the wall.
We were leaning towards number 3 or 5, but I had another sample I'd picked up a while ago for something else that I wanted to try. It's called Humble Gold by Sherwin Williams. I painted that the next day and thought one shade lighter would do the trick. Back to Home Depot, I picked up Jersey Cream (one shade lighter than Humble Gold) and every other color for all the rooms in the house. Since I couldn't tell the difference between a couple of them, we ended up with about 9 sample colors on our walls! I lost the camera in all that, so no pictures. Sorry! We did end up deciding on Jersey Cream. I think it'll look great with our green kitchen (which we started painting yesterday!). So far, we've got a red laundry room and a green kitchen and my paint shirt looks rather festive. My husband's halfway through installing all the ceiling fans and we still have light fixtures to change out. It's been a busy week and we've got a couple more weeks like it coming up!

I'll be able to blog a little more once we've finished some more things. We've been heading down to the house (it's 40 minutes away) after breakfast and getting back home around 10pm each night. It's exhausting but it'll totally be worth it!

Saturday, November 7, 2009

Starting...

We closed on our house yesterday! Last night we headed down and had pizza on the floor in our empty dining room. The boys loved running around and going up and down the stairs. A highlight for them was throwing a toy over the loft wall and down the stairs. They loved it!

Before leaving for the house yesterday, I threw all our new doorknobs in the van and changed out a couple of knobs last night. This afternoon, we got a babysitter (thanks again, Emily!) for our two oldest and headed down to do some more work.

We chose antique pewter for the finish on our doorknobs. It was a compromise that we are both very pleased with. I like the dark, brown finishes. My husband likes the more silver colored ones. The picture on the Schlage website shows a much lighter color, but they turned out to be a dark finish with silver undertones. So, our doorknobs went from brass and levers (that's just asking our boys to leave the house!)
to beautiful and much harder to get out!
It looks almost black in the picture, but it's not that dark. I'll have to try to get a better picture sometime. I still need to change out our front doorknob and the garage doorknob. I had them rekeyed to match at Lowes today. They did it for free since I bought my knobs through their website.

We also got started on installing ceiling fans. Here's my hubby, working hard.

And our Son #3 holding the ladder for Daddy! What a good little helper!
We'll be heading down soon to get some more things done. We discovered that we need to get a few new tools (like wire cutters) to install our ceiling fans (seven of them!). So, I'll be heading out to get those before our next trip down.

We finally made a decision about painting. We're having the professionals do the main part of the house (the hardest part to keep the kids out if we did it.) and we'll be doing the rest. We still aren't sure what color we're painting the living room/loft area, but the painters will hopefully be doing it this week! I bought the paint for our laundry room today, but we didn't have time to get started on it. Lots to do and little time. We're hoping to move in just a few weeks!

Wednesday, November 4, 2009

Vinyl looks good on anything!

I picked up this plate the other day at Home Goods. It was on clearance for 50 cents. I was looking for a square plate since I'm a little partial to square tiles for my vinyl. But I thought, for 50 cents, I couldn't go wrong!

This was a fun one to design. I bought my vinyl cutter back in May so I can use it to decorate our home (we're closing this weekend! Yea!) but I haven't done any challenging designs with my software yet. It was fun to figure out how to get the words the size I wanted and laid out in a circle.


I told my husband when he got home last night that now I just need to find a plate hanger so we can hang it in our kitchen after the move. And whatdaya know? I found the perfect solution over at Shanty2Chic, posted yesterday! I'll be picking up some of these plate hangers in the near future for sure.

* Someone asked me recently if I have a Cricut that I cut my vinyl with. They are super fun. I have several friends who have a Cricut and I've used one, but I chose to get an actual vinyl cutter so that I could do bigger vinyl projects than the Cricut can do. I have read that a vinyl cutter can be used like a Cricut, aka used to cut paper but I've yet to figure out how. I'm still exploring the fun things I can do with just vinyl. I have been getting excited about various projects I've seen in blogland using scrapbook paper so I'll probably be figuring that out soon. I'll let you know how it goes. If you're interested in a vinyl cutter, I got mine for a fairly good price at this website. I've also bought all my vinyl from them. Hope that helps!

Monday, November 2, 2009

Play Kitchen to be!

Jane at Out of the Crayon Box is having a "Build With Me: Cute and Thrifty Play Kitchen in just six weeks". Once I saw her great idea of turning a nightstand or cabinet into a toy kitchen I knew I wanted to make one for my boys. So, when I saw her party, I headed to Craigslist for a great find. I've been looking for the perfect nightstand for a while, but nothing has jumped out at me. This morning, I found it! This is the picture I took from the listing. I'm going to get it tomorrow! I can hardly wait to start and I hope my boys love their new toy kitchen come Christmas time!

Wednesday, October 28, 2009

Computer Desk redo

Edited to add to Mustard Seed Creations Furniture Feature Friday:

Furniture Feature Fridays

A couple of weeks ago, I bought a computer desk off Craigslist. It's solid wood and in good condition, it was just gray. Not a color hubby or I were very interested in. We moved the desk directly to the back patio so I could paint it black while my husband was on a business trip last week. Here it is after I started priming. I used a gray primer, so it didn't look any different. And here is it all painted black! It looks so much better! I really like the look of it better now. This was my first roll-on paint furniture re-do, so I made some mistakes. The biggest being that I forgot to wash the top of the desk (I remembered to clean the underside since I started with them upside down) before priming. The paint is easily scratched on top (it's beautifully scratch resistant underneath though!) We'll eventually have to strip the paint and repaint it, but with our move hopefully coming up soon (We're still waiting on a closing date for our house), I don't feel like doing it right now. I might do it soon after we get settled, we'll see.

Ok, and here is a before picture of the computer corner. The tower/desk we bought when we were in school and we had a 2 foot square space we could fit our computer since we had two babies in the second bedroom. It was a tight fit (4 people, 600 sq. ft.), but we made it work. Now, we get to spread out a little. We'll even have an actual office after the move! Yeah!

I totally didn't clean up, or organize before this picture. Hopefully, once I add everthing back in the computer space it'll look better than this!

DIY Day @ ASPTL


I'm linking up to DIY day over at Kimba's. Hop on over and see some other great things!

Monday, October 26, 2009

Origami Gift Bag

I love origami. As a child, I would steal my older brother's origami books and hide in my closet with them trying to see just how small I could make the fox, ball, bird, crab... I absolutely loved it! My brother would eventually find his books and hide them from me. I would always hunt them down to do more origami. So, when I saw this tutorial at Infarrantly Creative, I knew I just had to try it! I loved it so much, that I wrote out my own instructions so I can do it again and again without having to look up the video! To watch a how-to video, see here.
(You can click on the picture to enlarge it)

This is a bag I made from 8 1/2 inch square paper. It was the perfect size to put a half dozen homemade magnets! I'm giving a friend this cute bag and some magnets (not the ones pictured) for her birthday. Love it!
We make Christmas candy every year to give out to friends and family. I'm always looking for a fun way to box/bag up the candies to give out. This year, we'll be doing gift bags! I already bought the paper at Joanns (on sale 50% too).

Wednesday, October 21, 2009

Rocking Chair redo

When hubby goes out of town, things get done around here. Not sure why, but I'm MUCH more productive in the creative department (the cleaning... not so much) when my husband goes on a business trip. This time, no surprises for him, he knows my list of to-dos.

We got this rocking chair from my mother-in-law. She found it at a yard sale the summer before we had Son #2. I think she paid $10? It was someone's grandmother's. My MIL brought it down from Washington for us when she came to help out when I had the baby. I really like it, but it was pretty beat up. I think the previous owners must have had a cat, or something with claws. The original plan was to sand it down and stain it dark walnut (this is one of the three projects I was supposed to do last summer before having Son #3). Since I was still working on the cradle, I hadn't touched this chair yet. But, when I decided to paint the nursery furniture white, things sped up quite a bit. I still had to sand it down quite a bit since the previous finish was so worn.

My boys helped with the sanding...

I also got some wood epoxy putty I heard about from this blog to fill in the rocker thingy pictured below. I think I did a good job remaking the front of the rocker part. After sanding it down, I spray painted it with Krylon Satin Ivory which I much prefer over Rustoleum's Heirloom White (what I used on the cradle). I guess I just like ivory better, although to be honest, there's not much difference between the two. I'll eventually replace the brown cushion with a green one since this will go in the nursery and we're doing green and yellow in the nursery after our move. I really like how this turned out!

Also, last week I found a decent computer desk on Craigslist (I'm totally addicted to Craigslist, now). I've had to promise my hubby again that I won't buy anything else on Craigslist, at least until after the move. We honestly have no more room now. We like the desk, but not the color, so I'm painting it black on the back porch. I have just one more coat to add to the drawer section and then I'll get to put it back together.

DIY Day @ ASPTL


I'm adding this to Kimba's DIY Day. Go check out some other great projects!

Sunday, October 18, 2009

Cradle remake

I started this cradle about a year and a half ago. This is the best I could do for before pictures:
Son #2 sleeping. He's 3 now.

In the picture you can see the wood finish. It wasn't bad, just a little banged up and I wanted to sand it down and stain it dark walnut. I was pregnant with Son #3 when I started, and it took FOREVER! I didn't own a power sander (do now!), so I did all the sanding by hand, until I borrowed one from my brother-in-law. That sped things up a bit. I went ahead and stained the stand the dark walnut, but the spindles on the cradle itself were taking so long that I decided the nursery would look better with white furniture and spray painted it to match. Here's the after:

Son #3 hanging out while his brother's rocked him. I kept the stand dark walnut and I really like it. At first, I "antiqued" one end of the cradle using a technique I got from Miss Mustard Seed. I really liked it, but thought the white looked better, so I spray painted it back to white last night. Now I'm ready for baby #4... Not really, but he/she will have a place to sleep none the less!

DIY Day @ ASPTL


I'm linking this to Metamorphosis Monday and to DIY Day! Go check out some other great projects!

Monday, October 12, 2009

Painting dilemma, please HELP!

Hey everyone! I have a painting dilemma. We are buying our first house, it's newly built and the walls have a flat white paint on them. We want to paint the house before we move in. Due to time constraints and a really high wall (about 16 feet at the bottom of the stairs), we're going to hire a painter to paint the upstairs and downstairs main parts of the house (loft, family room, halls and the entry). We've been getting quotes for just the big part and then one for the entire house (bedrooms, bathrooms, den and kitchen included too). We have the money set aside for either way we decide to go.

Today, I went to our house, measured all the bedrooms, bathrooms, the kitchen and den (all the non-main parts of the house) so I could figure out how much paint it would take to do it ourselves. My mom gave me this cool painting book that has a formula to figure out how much paint you need to buy to paint a room. I sat down and figured out that it'll cost almost $700 to get paint to do all the rooms in different colors (Home Depot, Behr paint in 11 different colors). Going off our best quote so far (I'm still waiting on 3 more quotes from painters), that's only about $200 shy of having the painters do the whole house. And that's just the paint, that doesn't include other supplies like painters tape, edging brushes/tools, rollers, drop cloths and such. Okay, so my dilemma is this: I really want to do it myself! Crazy, huh? I have looked forward to painting our house myself (with hubby's help, of course!) from the day with picked the floorplan. Should I go ahead and do it all myself even though it'll probably end up being about the same price? Or should I just have the painters do it? Or should I go somewhere in between and just do my favorite rooms/colors? Time is a big factor too. We aren't sure yet when we'll close on our house (either sometime this week or the last week of October since hubby'll be on a business trip next week), but we're hoping to move in about 5 weeks. I still have lots of projects that I want to get done between now and then (like sew curtains for my boys' bedrooms and some furniture makeovers for the house) and of course, we also need to pack. Please let me know what you think!

Sunday, October 11, 2009

Projects

We were supposed to close on our house this last week. Hopefully, we'll be able to close sometime this week. We did go through the house this week with the builder and sign off on it saying they did everything they were supposed to. That was fun. Our boys came along for the signing and really enjoyed playing in our (soon to be) house. I'm starting to feel the time crunch of our upcoming move. There's a lot to get done in the next few weeks to prepare for our move.

I've been working on several projects. A new vinyl sign for our Pantry door. I really like it, so I'm going to have to find a way to do it in our house. Our pantry there has bi-fold doors.

I started working on this rocking chair for the nursery. I'm still working on finishing up the cradle for the nursery too. My boys helped me sand down the rocking chair. I just need to wipe the dust off and spray paint it now.

We've been busy getting estimates for having someone paint the inside of our house since that'll free up time for me to get other projects done - like packing. We've also been finishing up picking out all the things we're going to change out before the move, like light fixtures and doorknobs. Oh, and I've been combing Craigslist for furniture for our house. I picked up a bed for our guest room and an antique dresser that'll go in our front entry.

I'm hoping to finish up a couple of projects this week so I can show you and start in on some more. I'm going to have to break out the sewing machine and start making curtains soon too.

Wednesday, October 7, 2009

Another lamp remake

It seems like all I finish is lamps right now. I finally pulled out the spray paint and did this pair of matching lamps.

I originally bought lamp shades at Goodwill for these lamps, but the shades turned out to be WAY to short for the lamp. I would have needed to put a good 3 inch, or longer trim to get it to cover the light socket. Last week I was up in Phoenix and stopped by the IKEA there. I picked up two of these lampshades in their AS-IS section for $3 each. I'm not the best photographer, so these pictures aren't all that great, but I LOVE my new lamps. I've never really been a fan of lamps, so we've never had lamps on our bedside before. I'm really liking the new softer lighting in that room. It's encouraged me to make the bed more often. Even better, my husband told me after a couple of days that he really likes our new lights. I told him I hope he feels that way when I'm done with the buffet!

** Sorry I never posted this, Marie is the lucky winner of my vinyl giveaway! It should be getting to you soon, Marie!**

Friday, September 25, 2009

A lamp re-do

Updated to link to DIY day over at Kimba's:

DIY Day @ ASPTL


I found this cute lamp at Goodwill a while ago for $3.99! I was looking for lamp shades for some other lamps I picked up at a yardsale back in July.

I loved the shape and thought this would be a great lamp in my boys' bedroom. When I bought the supplies for my piano bench, I also picked up some blue spray paint. I had a lot of fun spray painting the bench so I went ahead and did the lamp too. It sat on the top of my armoire waiting for me to get back to it and finish the lamp shade for about 2 weeks. Today, I finally pulled out the fabric and did the lamp shade, sort of following this tutorial. I sprayed adhesive on the shade to help keep the fabric in place as I hot glued it down. I did the bottom first and then pleated the fabric at the top to keep the stripes straight. It turned out pretty good, I think. The only problem is that you can still see the little curly things on the shade when the lamp is on. I think I'll be lining the inside of the lampshade with some leftover vinyl or something soon and see if that helps.
I think my boys like it, don't you?

It won't get it's permanent home until after our move. Two more weeks until we close on our house!

**Don't forget my vinyl giveaway. I'll be picking a winner tonight at midnight!**

Monday, September 21, 2009

Vinyl giveaway

I was working on a sign for a lady this morning and realized halfway through that I was supposed to cut it out mirrored. Since I was almost done, I finished it and now I'm offering it to one of you! It's in black matte and just under 8x10 inches in size (safe for any surface!). Leave a comment with your favorite Fall tradition to enter. I'll pick a winner on Friday (Sept 25th).
This is a picture of the sign offered. It has transfer paper on it; the vinyl really is black.

PiƱata meets origami

Parker had his 3rd birthday this past weekend. We had a little party for him and he had a blast! This year, he wanted frogs again, so I decided to do something a little different. My mom made piƱatas for our birthday when we were kids so, I'm hoping to make this a tradition in our family.

PiƱatas are really easy, they just take some time. I didn't take pictures of each step, but basically, you blow up a balloon and hang it up on a string somewhere. Rip newspaper into little strips (about 2" x 5" or so). I used the grocery store ads we get in the mail. Put a layer of newspaper dipped in water over the entire surface of your balloon. Immediately put another layer of newspaper dipped in flour paste (see below) over the wet newspaper and let it dry. I did that step in the evening and let it dry overnight. Because my piƱata was going to be for toddlers, I wrapped wire (12 to 14 gauge) around my balloon twice and made a loop at the top. I popped the balloon and added another newspaper and paste layer. After that dried, I added green tissue paper (about 4" wide, folded in half and cut the folded side every 1/2 inch or so to make fringe). Each strip was about 6 inches long. I used school glue to add the fringe paper and cover the entire piƱata.

Now, for the origami part. I was planning on doing the arms and legs the "traditional" way with toilet paper rolls I'd been saving for a while. However, I thought it would be easier to make the arms and legs using origami. So, my hubby and I took a square of tissue paper and folded it down to make a smaller, thicker square and then folded them to look like arms. I also made two "water bombs" our of white iridescent paper and glued those on for the eyes. A little untraditional, but it worked. Here's the birthday boy holding up his frog. I'm not a big fan of giving toddlers large amounts of candy so I filled it with little toys and stickers for the kids instead. Usually, you're supposed to put 4 layers of newspaper and paste, but since it was toddlers (and I was out of time), I only did two. The kids had fun hitting it, but all they did was take off extremities. After all the kids took a turn, I broke it open. It took me three tries to break it, so it held up pretty good.


Flour paste:
1 cup all purpose flour
1 quart water

Mix flour and water in sauce pan. Cook on medium heat, stirring constantly until it begins to thicken. Cool. It will keep a day or two in the fridge.

LinkWithin

Blog Widget by LinkWithin